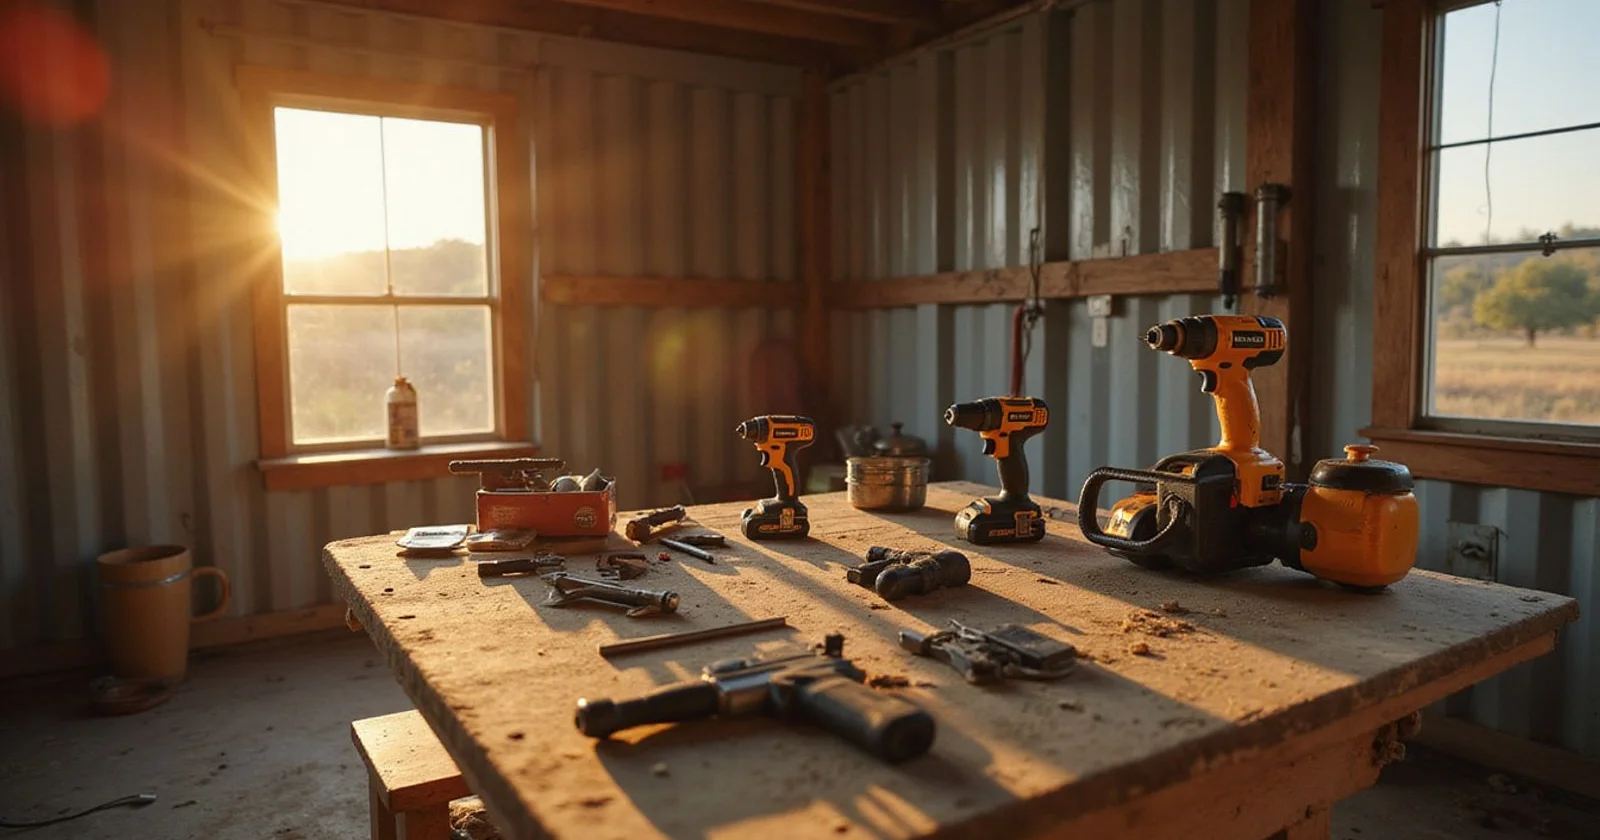
Can You Finish a Kit Yourself?
Our experience across rural properties shows that deciding to finish a container shell yourself comes down to basic tool familiarity and your available weekend hours. You absolutely can complete the project if you possess the baseline skills to finish container home kit projects and a realistic timeline.
Our partial-build options handle the structural steel work so you skip the welding entirely. A 2026 industry analysis shows a fully finished container home costs between $150 and $300 per square foot, but handling the interior yourself pushes you toward the lower end of that range.
We at ATX CONTAINER HOMES engineer these kits specifically to protect your budget while delivering premium durability.
The financial context here is that sweat equity turns a raw steel box into a cost-effective hunting cabin or agricultural housing very quickly. Our goal in this guide is to outline the required skills, list the essential tools, and explain which tasks require professional trades.
DIY Skill Level Needed: Skills to Finish Container Home Kit Projects
The required diy container home skill level involves intermediate tasks like hanging drywall, laying flooring, and installing basic fixtures. Our kits arrive with the structural engineering complete, leaving you to focus solely on finish carpentry and assembly.
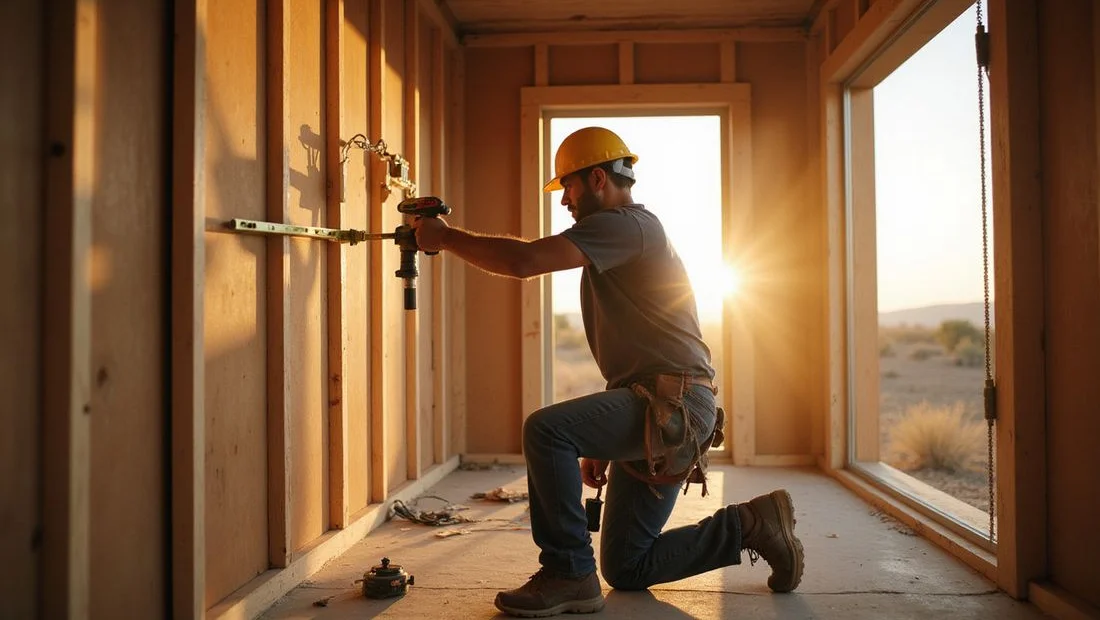
Shipping containers use highly durable Corten steel (ASTM A588) that you will not need to cut or weld. We intentionally handle all the heavy metalwork so your focus stays on the interior wood framing.
A popular insider tip is to use specialized products like InSoFast rigid insulation panels. Our clients love these panels because they slot directly into the container’s corrugated steel walls and feature built-in framing studs.
You will need to be comfortable executing the following specific tasks:
- Measuring and cutting wood or foam framing accurately.
- Applying industrial adhesives like PL Premium to secure panels.
- Clicking together floating vinyl plank flooring.
- Taping and mudding standard drywall sheets.
Our manuals outline the sequence, but prior hands-on practice prevents costly material waste.
Tool List
A workable kit of tools for diy container home construction centers on standard carpentry power tools rather than heavy metalworking gear. Our steel cutting is already complete upon delivery, so you will only need equipment to handle wood, drywall, and finishes.
A 2026 market check shows you can pick up a reliable 6-tool brushless combo kit from a pro-grade brand like DeWalt or Milwaukee for roughly $300 to $500. We strongly recommend these 20V battery platforms because the interchangeable batteries keep you working without dragging extension cords across a raw property.
The table below outlines a few popular battery platforms based on current retail pricing. Our crews rely on the pro-grade options, but budget-friendly brands still perform fine for a one-off build.
| Brand Platform | Ideal User | Key Feature | Average 2026 Price |
|---|---|---|---|
| DeWalt 20V MAX Brushless | Heavy-duty builders | Superior durability & drop resistance | $400 - $500 |
| Milwaukee M18 System | Fast-paced assemblers | Extensive specialty tool compatibility | $450 - $550 |
| Ryobi 18V ONE+ | Budget-conscious DIYers | Highly affordable entry price | $200 - $300 |
You will also need a specific set of hand tools to complete the finer details of the interior. Our required manual tool checklist includes the following items:
- Utility knife and a heavy-duty caulk gun.
- Stud finder and a chalk line.
- 24-inch bubble level, a 25-foot tape measure, and a speed square.
- Drywall taping knives and a mud pan.
A serious pitfall is buying cheap drill bits that strip your screws halfway into the framing. We always suggest spending an extra twenty dollars on high-quality titanium or cobalt bit sets to save yourself hours of frustration.
Where to Hire Out
The electrical trim-out and final plumbing connections are the exact phases you must hire out to licensed professionals. Our kits are designed to be DIY-friendly, but improper wiring or plumbing violates the National Electrical Code (NEC) and local building regulations.
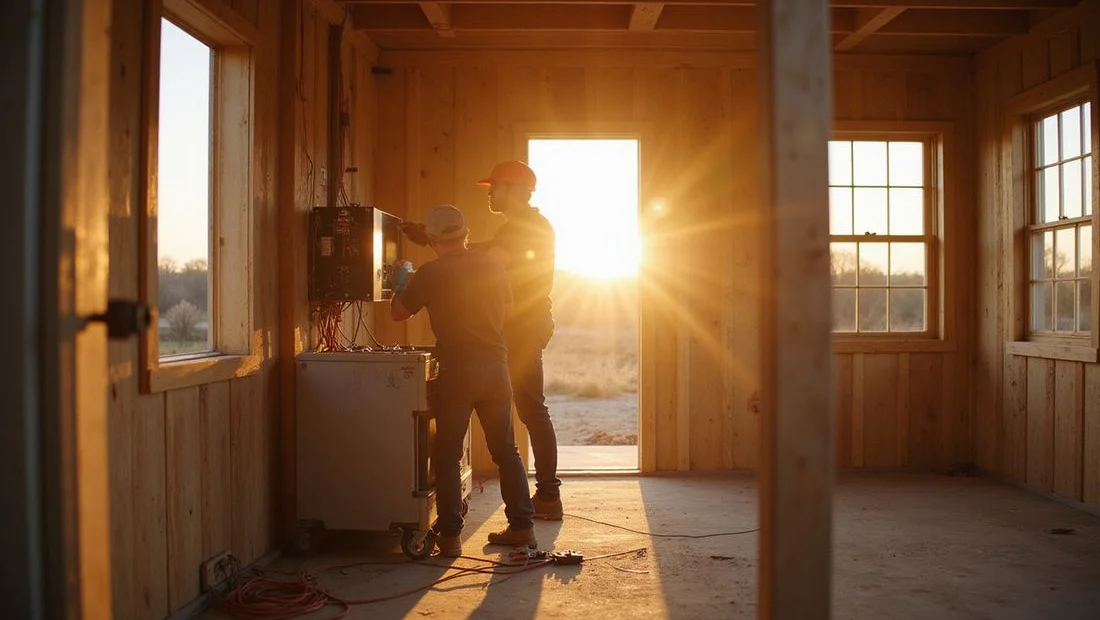
Average 2026 labor data shows that rural electricians typically charge around $50 to $70 per hour, though you should expect an added fee for travel time to remote properties. We suggest budgeting between $80 and $130 per hour for a licensed residential plumber to connect your main water and sewer lines.
Hiring licensed trades ensures the work passes mandatory municipal inspections, which protects your move-in date and your property insurance. Our project managers always advise scheduling these contractors at least three weeks in advance.
A common mistake is closing up the interior walls with drywall before the electrician has completely finished pulling the wires. We require you to leave all framing exposed until the local inspector signs off on the rough-in electrical and plumbing work.
Trade Contractor Cost Breakdown
Understanding the current hourly rates helps you budget accurately for the final utility connections. Our recent market research highlights these typical 2026 expenses for remote job sites:
- Journeyman Electrician: $60 to $90 per hour (handles standard wiring and breaker panels).
- Master Electrician: $90 to $120 per hour (needed for complex off-grid solar tie-ins).
- Residential Plumber: $80 to $130 per hour (manages pressure testing and main line hookups).
These rates vary by region, but rural locations consistently demand a premium for travel mileage. We recommend asking contractors if they offer a flat rate for a standard container trim-out to cap your labor expenses.
Realistic Time Commitment
A realistic time commitment for finishing a single 20-foot container kit is roughly 100 to 150 labor hours for an organized beginner. Our guide on finishing the interior lays out the exact sequence so you can estimate your own specific pace.
Some buyers finish a compact hunting cabin in three or four focused weekends. We see other property owners spread the work comfortably over a full season.
Data from recent modular home builds indicates that drywall taping and mudding consumes nearly 30% of the total interior finishing time. Our support team suggests opting for tongue-and-groove pine planks instead of drywall if you want to accelerate the timeline significantly.
Wood paneling installs much faster and completely eliminates the messy, multi-day process of waiting for joint compound to dry. We encourage you to be brutally honest about your weekend availability before taking delivery of the unit.
A standard timeline for a 20-foot unit breaks down into several distinct phases. Our typical customer progresses through the build at the following speed:
- Framing & Insulation: 20 to 30 hours.
- Wall Coverings (Drywall or Wood): 40 to 60 hours.
- Flooring & Trim: 15 to 25 hours.
- Painting & Fixtures: 20 to 35 hours.
Unforeseen weather delays or missing tools will naturally extend these estimates. We advise adding a 20% time buffer to your schedule to absorb any unexpected challenges.
When a Kit Isn’t the Right Fit
A partial-build kit is not the right fit if you have zero construction comfort, zero budget for licensed trades, or a completely maxed-out schedule. Our fully completed turnkey units are the better path if the idea of measuring, cutting, and assembling feels overwhelming.
Current market prices reveal that a turnkey 40-foot container home averages around $90,000 to $120,000, while a DIY finish can drop that total cost closer to $60,000. We present this financial difference clearly so you can weigh the value of your personal time against the cash savings.
If you lack the required skills to finish container home kit interiors or the time to do so, a raw kit will fight you every step of the way.
Our complete scope of available models is detailed on the DIY kits page. Review your weekend schedule, assess your tool collection, and choose the construction path that protects your peace of mind. We invite you to contact our design team today to discuss which option best matches your property goals.