Finishing on Your Own Terms
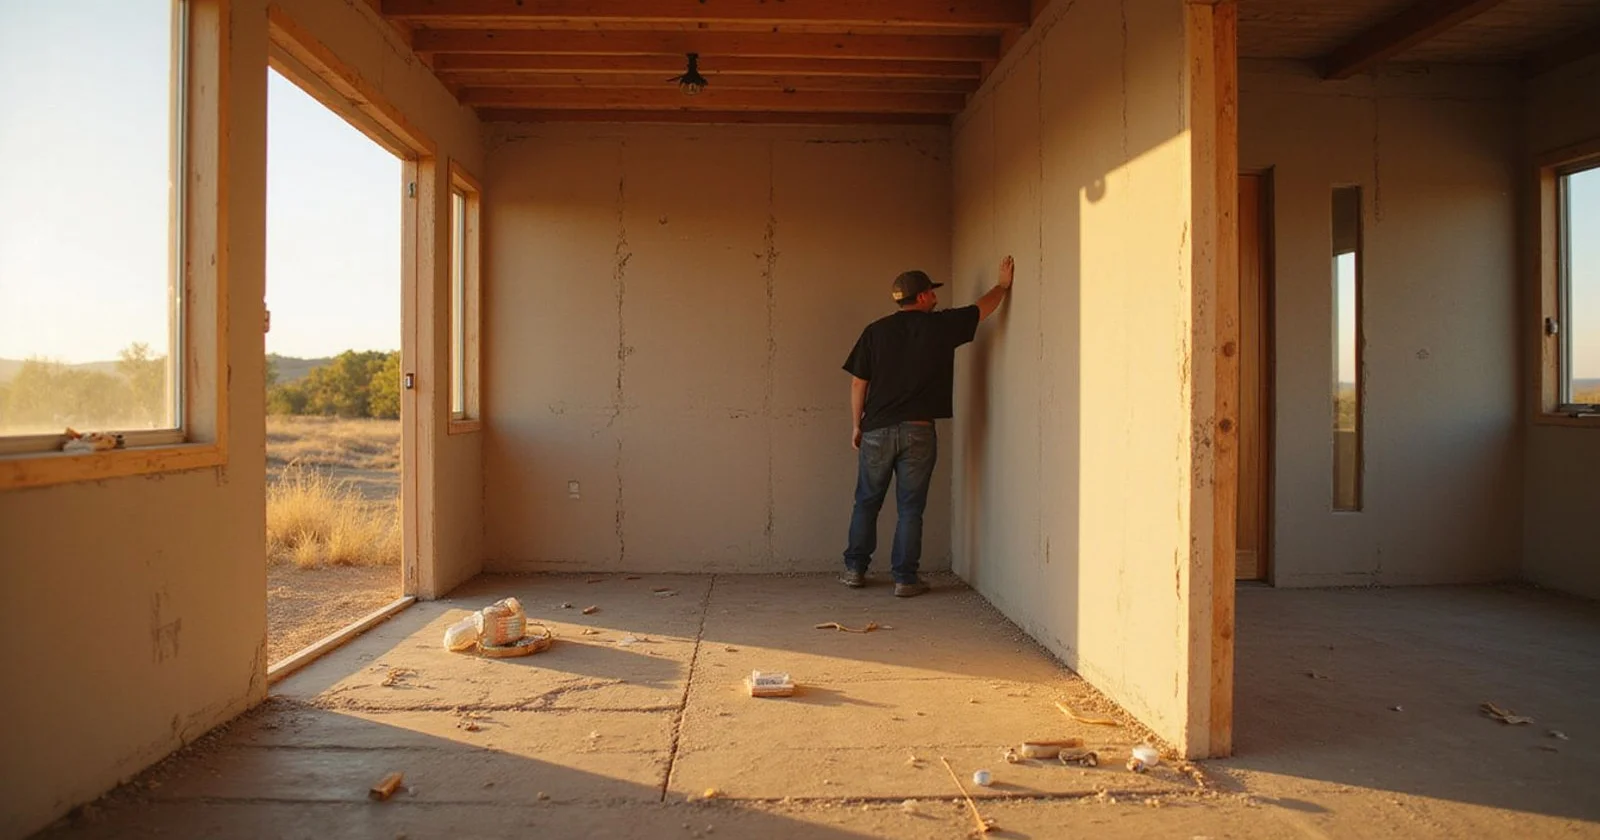
Hunters and rural landowners know that replacing a fragile camper with a permanent steel cabin requires smart planning. We see people save thousands of dollars when they take over a project after the structural work and rough-ins done phase.
If your goal is to finish diy container home interior projects on a budget, you must understand the costs. Recent 2026 housing data shows average US finish-out costs range from $125 to $350 per square foot, making DIY labor highly valuable.
Our team at ATX CONTAINER HOMES provides premium modular and container-based construction solutions that prioritize durability, and we want you to succeed. The secret to protecting that budget is strict adherence to the construction sequence.
Let us look at the exact diy container home order of work, the materials you need, and the milestones you must hit.
Start by Confirming the Rough-Ins
Before closing up any walls, you must verify that all electrical wiring and PEX plumbing lines match your exact layout. We always advise tracing every switch and outlet because moving a line later requires destroying finished walls. The International Building Code (IBC) Section 3115 specifically regulates shipping containers used as buildings in the US.
This code requires a formal rough-in inspection before any insulation goes up. Our clients sometimes fail this step by rushing to close walls before the local municipal inspector signs off. You need to check three critical systems before calling the inspector:
- Plumbing Lines: Ensure hot and cold PEX supply lines sit exactly where your sinks and showers will go.
- Electrical Wiring: Confirm that 12-gauge Romex wires reach all intended outlet boxes without tight pinches.
- HVAC Ducting: Verify that your mini-split lines have a clear path to the exterior compressor.
Catching a misplaced line now takes five minutes. Our field experience shows that finding a plumbing mistake after drywall installation costs hundreds of dollars in repair work.
Drywall and Paneling
Proper container home interior finishing starts with exceptional insulation. We strongly recommend using closed-cell polyurethane spray foam for US builds because it acts as a built-in vapor barrier. Closed-cell foam provides an impressive insulation value of R-6 to R-7 per inch, which vastly outperforms traditional fiberglass batts.
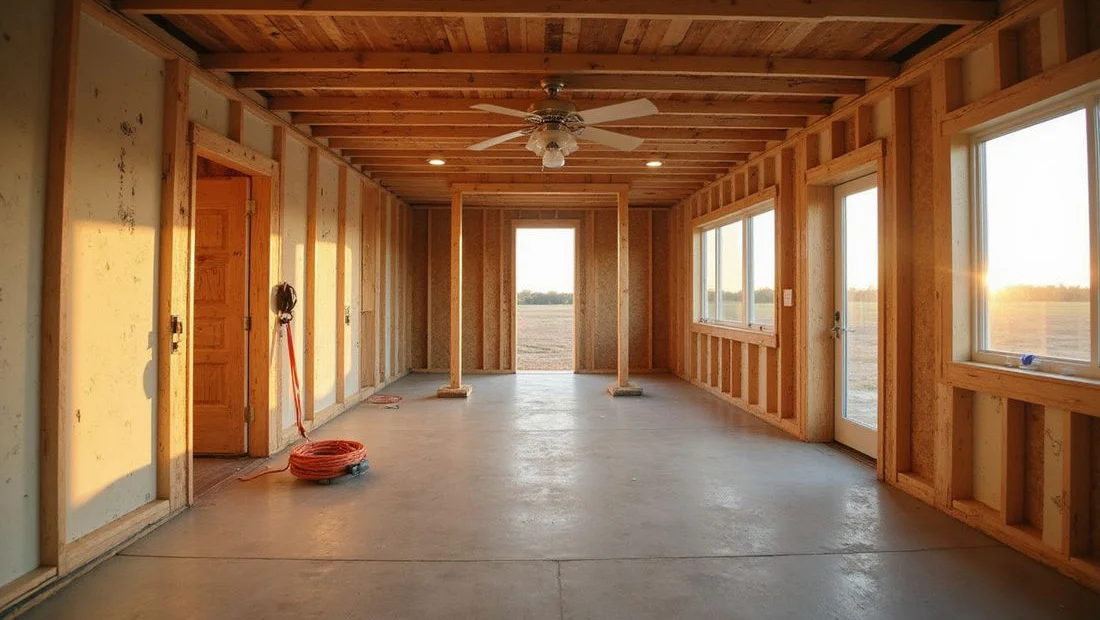
Applying two to three inches of this foam directly to the corrugated steel prevents dangerous condensation inside the wall cavity. We see many DIY builders install standard half-inch drywall directly over the framing for a clean residential finish. You might prefer tongue-and-groove pine paneling for a rugged agricultural cabin aesthetic.
| Wall Material | Best Application | Installation Note |
|---|---|---|
| Standard 1/2” Drywall | Clean, modern residential look | Requires taping, mudding, and sanding |
| Tongue & Groove Pine | Rustic agricultural or hunting cabins | Installs quickly with a brad nailer |
| 5/8” Fire-Rated Drywall | Utility rooms or kitchen stove areas | Heavier boards require two people to lift |
Both wall covering options share the same vital installation rule. Our project managers always install wall panels before installing the flooring. This simple sequence guarantees you will not drop heavy tools or spill joint compound on a brand new floor.
Flooring
With the walls finished and painted, you can confidently lay the flooring over the plywood subfloor. We consider this one of the most DIY-friendly steps in the entire build process. Your flooring choice must withstand the unique temperature fluctuations found in metal modular units.
Luxury Vinyl Plank (LVP) is the top flooring recommendation for container homes in 2026. Our rural customers prefer LVP because it is entirely waterproof and resists scratches from heavy work boots. A quality LVP product with a durable 20-mil wear layer will float perfectly over the subfloor.
Pro-Tip: Always leave a 1/4-inch expansion gap around the perimeter of your LVP flooring. The baseboards will hide this gap, but the empty space prevents the floor from buckling during extreme seasonal temperature shifts.
This floating installation allows the planks to shift slightly if the steel chassis expands in the summer heat. We advise avoiding traditional solid hardwood, as moisture changes easily warp natural wood in off-grid environments. Simply click the vinyl planks together and trim the edges with a sharp utility knife.
Fixtures and Cabinetry
Next comes the installation of kitchen cabinets, bathroom vanities, surface lighting, and baseboard trim. We love this phase because the empty steel shell finally feels like a comfortable home. Heavy cabinet installation requires specialized structural anchors.
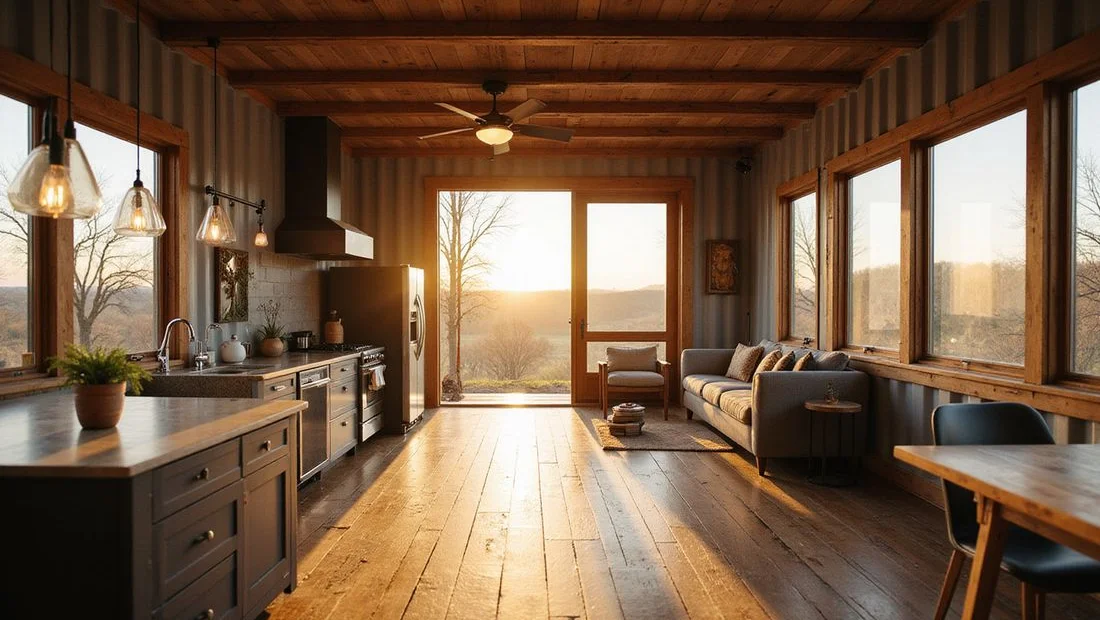
You cannot simply screw heavy upper cabinets into half-inch drywall and expect them to hold the weight of your dishes. Our installation crews ensure every cabinet screw anchors directly into the interior steel or wood framing studs. Securing the units to structural supports prevents them from vibrating loose during high winds or transit.
Complete your fixture trim-out in this exact order to save hours of frustration:
- Upper Cabinets: Install these first so you do not have to lean awkwardly over base cabinets.
- Base Cabinets: Level the base units perfectly before securing your heavy countertops.
- Plumbing Fixtures: Drop in the sinks and connect the faucets directly to the PEX supply lines.
- Light Fixtures: Snap the LED lights into their ceiling cutouts and attach the switch cover plates.
Lighting fixtures also require careful planning due to the lower ceiling heights inherent to shipping containers. We recommend ultra-thin LED recessed lights for the ceiling. These modern units run on standard 120-volt circuits and require almost zero vertical clearance inside the tight ceiling cavity.
Connecting MEP
The final interior step involves the mechanical, electrical, and plumbing (MEP) trim-out. Our clients understand that this phase makes the home fully functional and safe for permanent occupancy. Trim-out includes installing electrical outlets, connecting the breaker panel, and hooking up the exterior HVAC system.
Heating and cooling a standard 20-foot container usually requires a 9,000 to 12,000 BTU ductless mini-split system. We strongly advise hiring licensed local tradespeople to make the final connections to the main power grid and water supply. Professional installation ensures your home easily passes the final municipal occupancy inspection.
Inspection Warning: Never turn on the main breaker or open the main water valve until a certified inspector has reviewed the final MEP connections. A failed water pressure test can flood your brand new LVP flooring in seconds.
A licensed electrician guarantees that your breaker box grounds correctly to the earth. We prioritize safety above all else, and an incorrect electrical connection inside a highly conductive steel structure poses a massive shock hazard. Securing those final safety permits increases the long-term property value of your land.
Common Pitfalls
The most expensive mistakes stem from working out of order and skipping mandatory rough-in inspections. We frequently rescue projects where an owner installed drywall before the plumbing passed a municipal pressure test. Another major error is underestimating the ceiling clearance needed for standard HVAC ducting.
Standard shipping containers measure 8 feet 6 inches tall, leaving very little room for overhead utilities once you add ceiling insulation. We suggest reviewing your physical capabilities with our guide on skills and tools before you begin construction. Avoid these three final hurdles to ensure a smooth project:
- Ceiling Height: Purchase a 9-foot 6-inch High Cube container to solve overhead clearance issues instantly.
- Permitting: Secure your local county zoning and building permits before modifying the steel shell.
- Scheduling: Book your licensed electrician and plumber months in advance to avoid project delays.
Assess your timeline realistically and gather the right building materials early. Our team is ready to supply the perfect roughed-in shell for your property with our DIY container home kits. Contact a modular building specialist today to lock in your 2026 pricing and start your build.